Scrambled Eggs for Meal Prep
Scrambling eggs from scratch can be time consuming. Here you'll find find 5 useful tips from a professional chef and master egg cooker on how to best make scrambled eggs for your breakfast meal prep.
How to Master Scramble Egg Meal Prep
The basic way to scramble eggs for meal prep is to cook, cool, then portion them ahead of time. You can also make omelettes with this method if desired. Let's take a more detailed look on how to achieve this.
When meal prepping eggs, there are personal opinions on what the appropriate time frame is on getting them cooked ahead of time, since some claim that scrambling eggs 5-7 days in advance diminishes the quality and flavor of the eggs substantially.
Aim to cook 2-3 days worth of eggs for fresher meal prep.
If you decide to scramble your eggs ahead of time for the entire week, I suggest you do the following 5 tips listed below, plus also remember not to fully cook the eggs -- cook them to about 90% (just a bit watery). This way they won't get cardboard dry when being reheated!
Pro tip: Always use a good quality non-stick pan when cooking eggs. This will yield a better cooked product and help reduce cleaning time!
5 Professional Chef Tips
I have personally used these throughout my career at various restaurant kitchens, and have also applied it to my own meal prep efforts:
1. Calculate how many eggs you will need for the week
2. Crack all your eggs first for the entire week
3. Based on your preference, weigh and cook your eggs
4. Only season your eggs while cooking them
5. Cool and weight the eggs according to your nutrition needs.
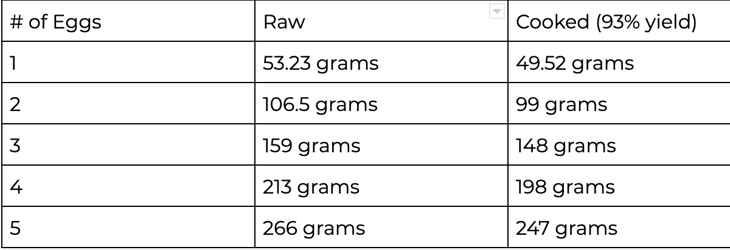
Use the chart below for a guide on raw versus cooked weights of scrambled eggs.
Scramble Eggs Meal Prep Recipe
Prep Time: 10 min
Cook Time: 5 min
Servings: Varies
Ingredients:
- Whole eggs, quantity based on weekly needs
- Spray oil
- Salt and pepper, to taste
Kitchen Needs:
- Large non-stick pan
- Rubber spatula
- Sheet Tray
- Tupperware of meal prep containers
Step 1: Build an Egg Cracking Station and Prep All Your Eggs
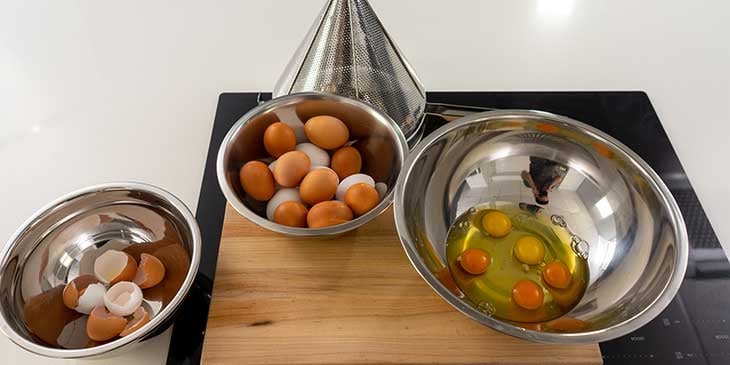
Calculate out how many eggs you need for the week and crack your desired amount into the container (for example, if you eat 4 eggs per morning, crack 28 eggs into the container (7 days x 4 eggs per morning).
One Large Egg (61g) contains an estimated: 91 Calories; 8g Protein; 7g Fat; and 1g Carbs (1).
Find a container or a bowl deep enough to hold all your eggs at once.
Place this container in your sink (ideally) and set a fine mesh strainer on top of the container. Crack the eggs into the strainer.
Cracking the eggs in the strainer will help you avoid getting eggshells into your mix and makes for easier cleanup. Conversely, you can simply crack your eggs into the bowl, and then strain them into a separate container to get rid of any small egg shell debris that may have gotten into the egg mix.
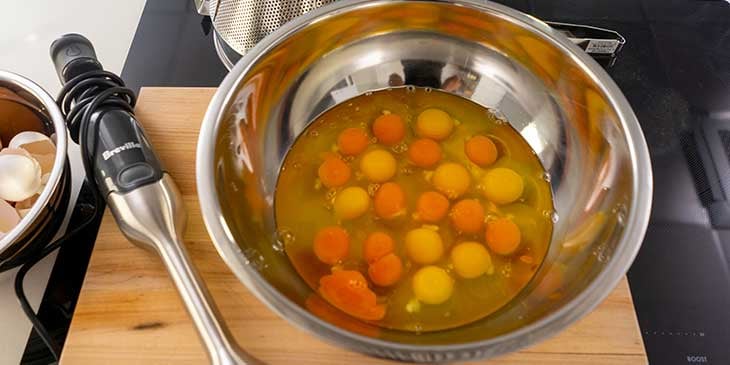
Once all your eggs are cracked, use an immersion blender (hand stick blender) to blend eggs and pass through the strainer. Remove the strainer and blend one more time to fully incorporate the egg yolks and egg whites. If you don’t have a stick blender, you can use a regular blender or do it manually with a whisk.
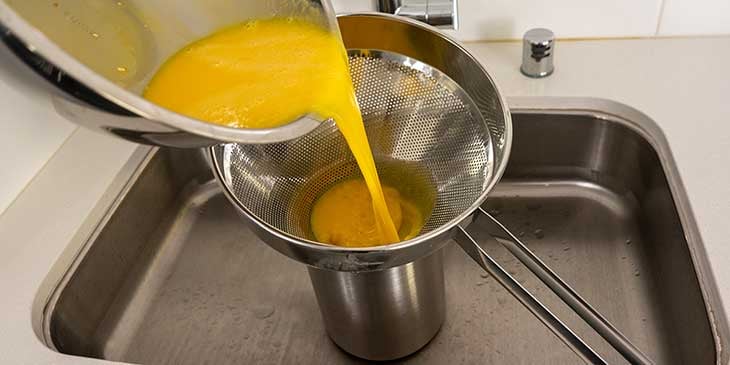
Store in airtight containers in the fridge for up to a week.
Remember to not season your eggs until you cook them.
Only season your eggs while cooking your batches; this allows for optimal seasoning and distribution across all raw eggs. If you were to add salt and pepper to your cracked eggs and store it in the fridge, the seasoning would settle at the bottom of the container.
If you want to take this a step further, buy high quality eggs either at a health store or at the farmers market.
You'll be able to see the difference on the egg yolks; typically, the grass-fed/free-range chickens yield yolks that are darker in color (and hence richer in nutrients), compared to store bought eggs that tend to have pale yolks.
Step 2: Portion and Prepare to Cook
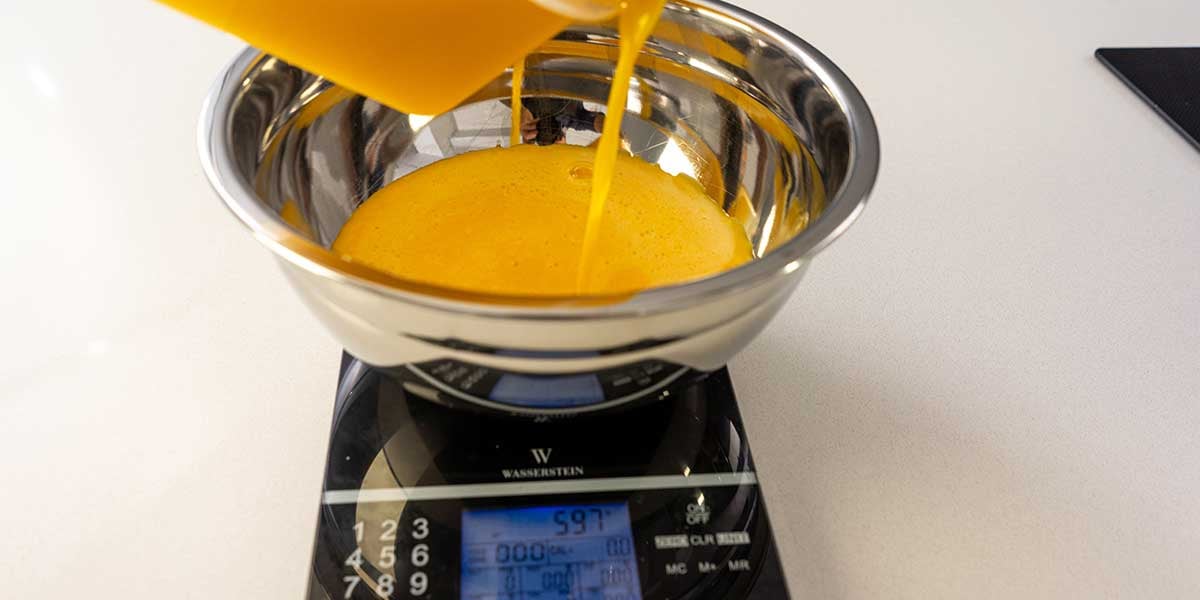
Once you are ready to cook, follow the example below on how to figure out the quantity of eggs you need to weigh and cook for the following few days (yes, I actually measured the cooking yield of each number of cooked eggs just for you).
For example: if you are cooking 3 days worth of eggs, and you eat 4 eggs per breakfast (3 days x 213g (or 4 eggs) raw eggs) that would be an equivalent of 639g of raw eggs to be cooked at once for your meal prep. Keep your total measured egg quantity in a container.
Step 3: Heat a Non-Stick Pan, Cook, and Cool Eggs
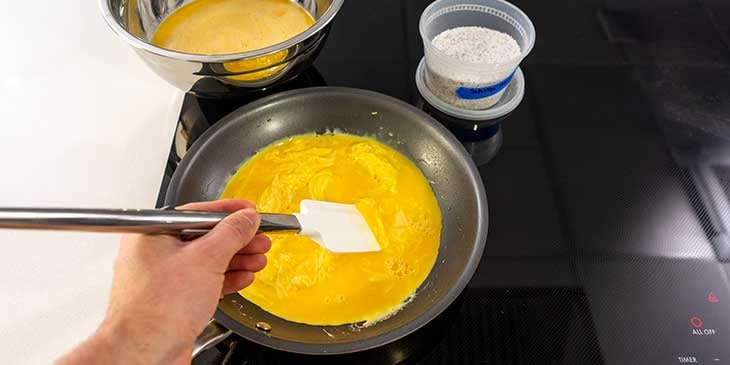
Ideally, to save time, use a large non-stick pan. If you don't have a large non-stick, cooking your eggs in batches in a smaller pan also works. In this case, you'll have to cook your eggs in batches.
Heat your pan over medium-high heat and spray liberally with spray oil. As soon as the oil is warm (shimmering or just slightly smoking), immediately add your eggs into the pan. Do not excessively fill the pan with raw eggs. Overfilling will make cooking the eggs hard and more likely than not will cause you to spill eggs onto the stove top as you are scrambling them.
- Think about fat: Though yes, adding butter and milk to the eggs add both flavor, and fluffiness this also adds extra calories. If too much is added, extra or unwanted calories can up quickly. As I suggest below, add a small splash of water or vegetable stock to add fluffiness without the calories! If you're meal prepping and want to have the exact macros of each portion, make sure you either use cooking spray, or only add 1 teaspoon of oil at a time for 5g of added fat through the oil
-
Use a rubber spatula -- this is essential and can't stress it enough. Because you'll be using non-stick pans to cook your eggs, a rubber spatula or a wooden utensil will avoid scratching and damaging the pan. The rubber also helps get on the crevices of the pan, an added bonus. I can't stress this enough.
- A note on heat: Heat your pan on medium-high while adding your fat. This will help not only heat up the fat but also will offset the cooling factor of adding the liquid eggs to the pan. Once the eggs are added in, reduce to medium heat to avoid overcooking the eggs but to continue cooking them at an even pace.
- Add a splash of water to promote fluffiness. This also works with any kind of stock and it creates a similar end product to added milk (with the exception of the added fat from milk). How does this work? The water present in your liquid of choice evaporates as the eggs coagulate, thus creating a fluffier puffed scrambled product.
Season your eggs with salt and pepper to taste, and begin scrambling by gently and constantly moving the eggs in the pan. Reduce the heat to medium if the eggs are cooking too fast.
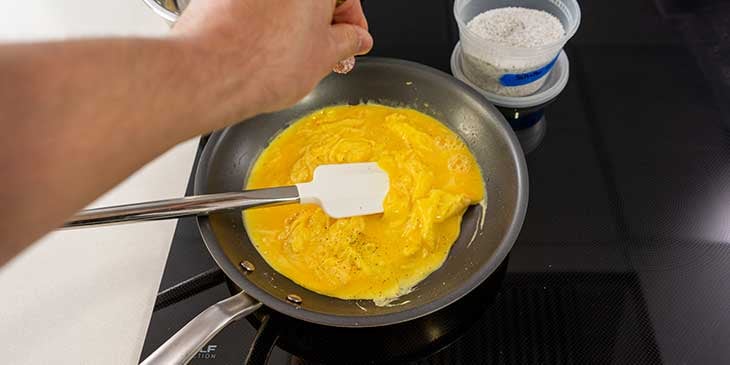
As the eggs scramble, continue to move the spatula around and break any large chunks of cooked eggs. Once at 90% cooked, remove the eggs from the heat and gently scoop into a sheet tray. Spread evenly. Repeat process if you have any eggs left to cook.
Cool down completely in the fridge uncovered.
Step 4: Portion into Containers and Store
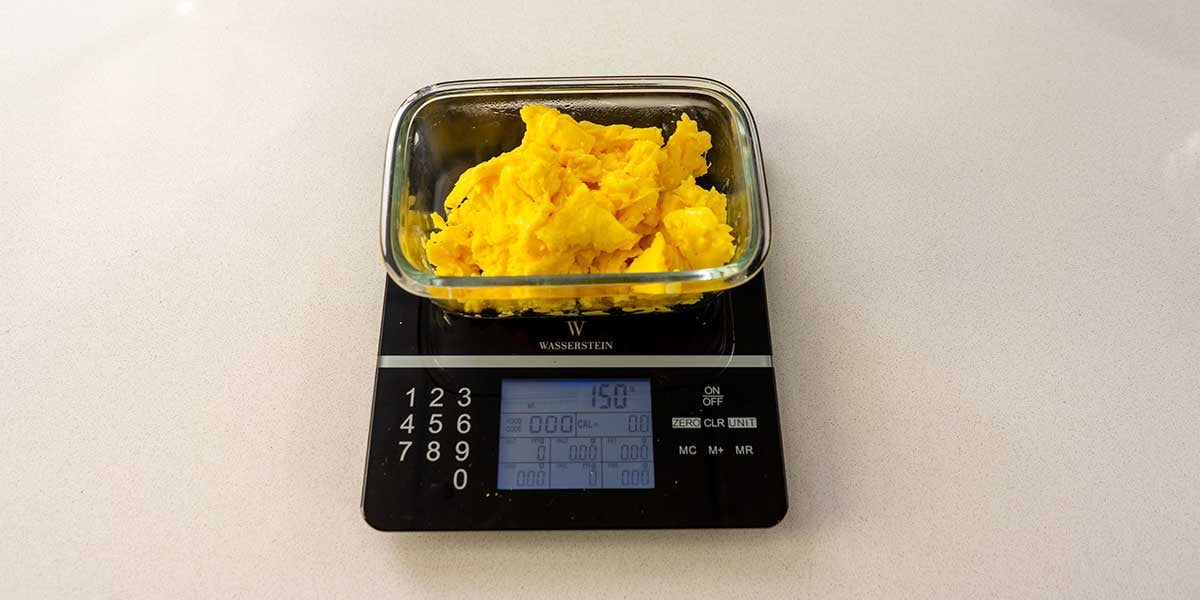
Once eggs are cooled down, and measure according to the quantity of eggs you eat per day. Use the chart above as guide to know exactly how much you will need to portion on each container to hit your macros!
To follow up on the example earlier on the blog and to further clarify:
If you are cooking 3 eggs per day, that means you are cooking a raw quantity of 159 grams. After cooking, you should have about 148 grams total. Portion this amount into each meal prep container and portion your breakfast needs for 2 to 3 days in less than 20 minutes!
Look at you go, you meal prep expert.
Clean Up, Storing and Shelf Life
After you're done cracking your eggs and blending them, make sure you wash all surfaces that may have any egg traces (including your sink) with soapy water to eliminate the possibility of any potential cross-contamination. Rinse and dry all surfaces with a paper cloth. This is a great practice to get into after preparing any protein. Make sure you also wash your hands.
Make sure your eggs are completely cool before covering them.
Serve this With
This hack is perfect for your daily meal prep. You can cook your eggs in the morning in a much faster way and serve with some crispy bacon, a cup of your favorite vegetables, and top with any sauce you like. I personally love Tabasco or Sriracha. Also feel free to use these eggs to make other recipes, like these delicious baked egg bites, or for any baking purposes.
Best Ways to Reheat Your Eggs
If cooking in advance, how you choose to heat up your eggs can make or break your experience.
Ultimately the oven is the tastiest way to warm up your eggs without overcooking them and creating a rubbery texture. Set your oven to 375F degrees and pop in your eggs for about 5-8 minutes until they are fully warm. Spray your pan with spray oil (and for faster clean up, line it with foil).
If using a microwave, I recommend setting the power setting to 5, and reheating for 2 minutes covered with a damp paper cloth.
Too Much Work? We Got You!
Stick to your calorie goals and maximize results with this free meal prep toolkit for weight loss. An RD-written guide complete with macro meal planner, food lists, and expert advice to help you lose weight quickly.

